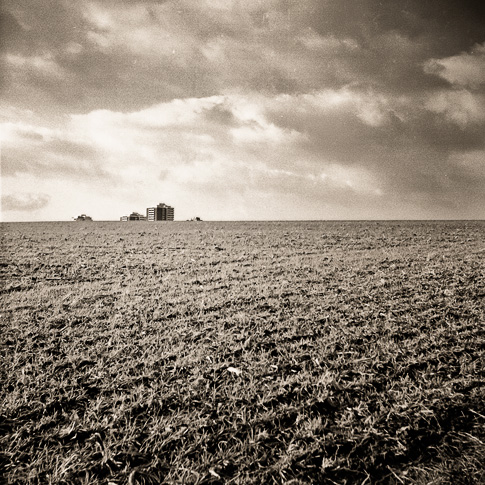
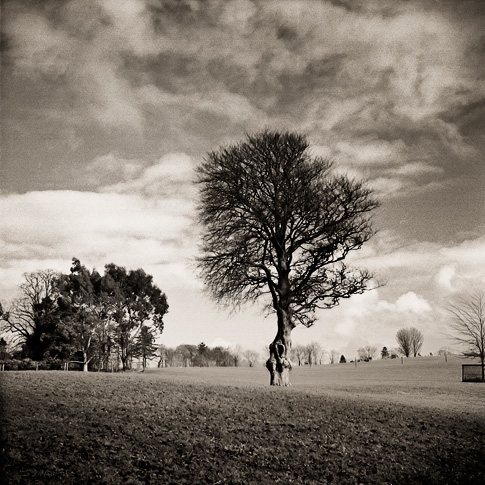
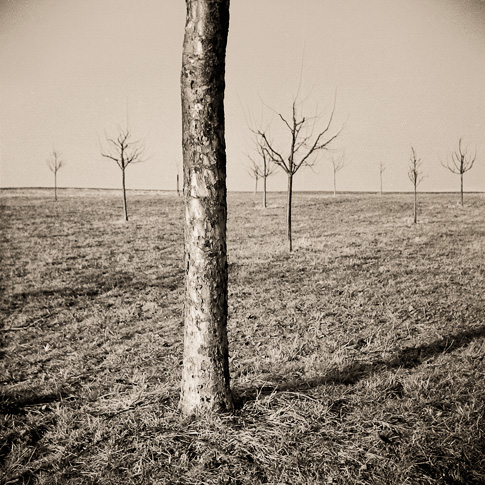
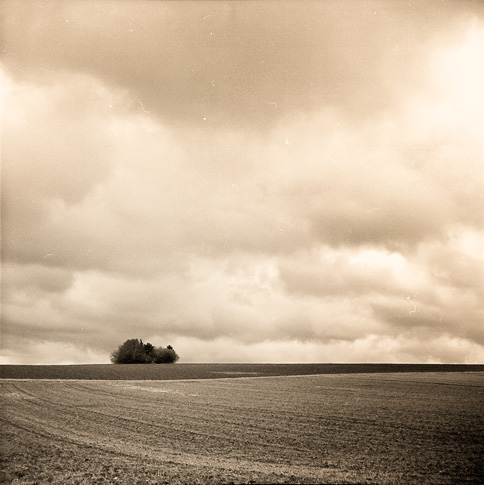
Just had my very first roll of 120 film from my Lomo Lubitel 166 developed at Studio 13 in Echterdingen and am really pleased with the results.
It’s hard to describe the results you get out of this or any Lomo for that fact. If it’s quality your looking for you may have to look somewhere else, but for images that just shout character and nostalgia, with heavy vignetting around the edges and some odd colour shifting, the Lomo is hard to beat. Personally it’s a eyeopening experience to shoot film again. Perhaps it’s simply linked to the cost of film but I find myself working so much more slowly with film than with digital. I’m finding myself framing the picture with much more care and thought as well as having some more regard for lighting conditions. There were some days where I had a great subject to shoot but decided to come home empty handed and deciding to going back to the same location on another day in the hope for better lighting.
All this resulted in a much higher yield of ‘good’ pictures with 9 out of the twelve images making it to the scanning stage. Subsequently I’ve started to work much slower with my digital camera in an effort to achieve the same photographic experience I got with my Lomo.
Admittedly I’ve done a little retouching seeing as there were so many scratches and dust particles on the scans. The scanning itself was both a rewarding and extremely frustrating process to get through.
The scanner in question is the HPG4050 which although slow and and soft in the sharpness department, was able to produce great results thanks to the 6 colour scan process it uses.
Tip for anyone out there interested in doing some of their own scanning: make sure the negatives are as dust free as you can get them before to place them under the scanner. In my case I first cleaned the scanner and TMA Glass with glass cleaner and then gave the negatives a once over with my camera blower, just to get any large particles off. This was followed with some careful cleaning using my trusty Hama Lens Pen, with the brush part slight retracted for the more stubborn particles.
All the negatives were scanned using the included HP software at 300dpi and scaled up to 800%. Make sure that if you wish to set a custom output size that you keep the proportions as constant to those of the negative in order to avoid a nasty interlaced look (I found out the hard way).
—Rant—
I have a 2 very serious issues with the the g4050.
One is the fact that there is no information available if the inside side of the TMA glass needs cleaning. Hp does offer a walk through for the base document scanning section, but not a word on the TMA. After spending half an hour trying to pry open the case I found some concealed screw covers which finally gave me access to the inside of the case. After a quick wipe with the glass cleaner I was finally ready to get on with my scanning.
The other difficulty I have is in connection with the software which has a pretty intuitive looking interface but sadly suffers greatly in terms of speed. The refresh time whilst doing adjustment to the pre-scan image is at best annoying, if not seriously frustrating. Another downer is the fact that I can’t seem to do any batch scanning even after installing the new driver and HP software. Even if I set it to scan several images it just seems to scann forever and still only results into a single file. I’ve tried out the new demo of Silverfast SE by Lasersoft Imaging, which offers far superior scan speeds, proper batch scanning as well as plenty adjustment options. The full version does come at a price though (€50), so I have to see how my new liking to Film Photography develops in the future.

www.christianhaubold.com
http://www.facebook.com/christianhaubold


